
How-To Guides
How to Create Explainer Videos from Documents Using AI
Transform complex documents into engaging explainer videos with AI. Step-by-step guide for creating professional educational and marketing videos.
10 min read•9/24/2025
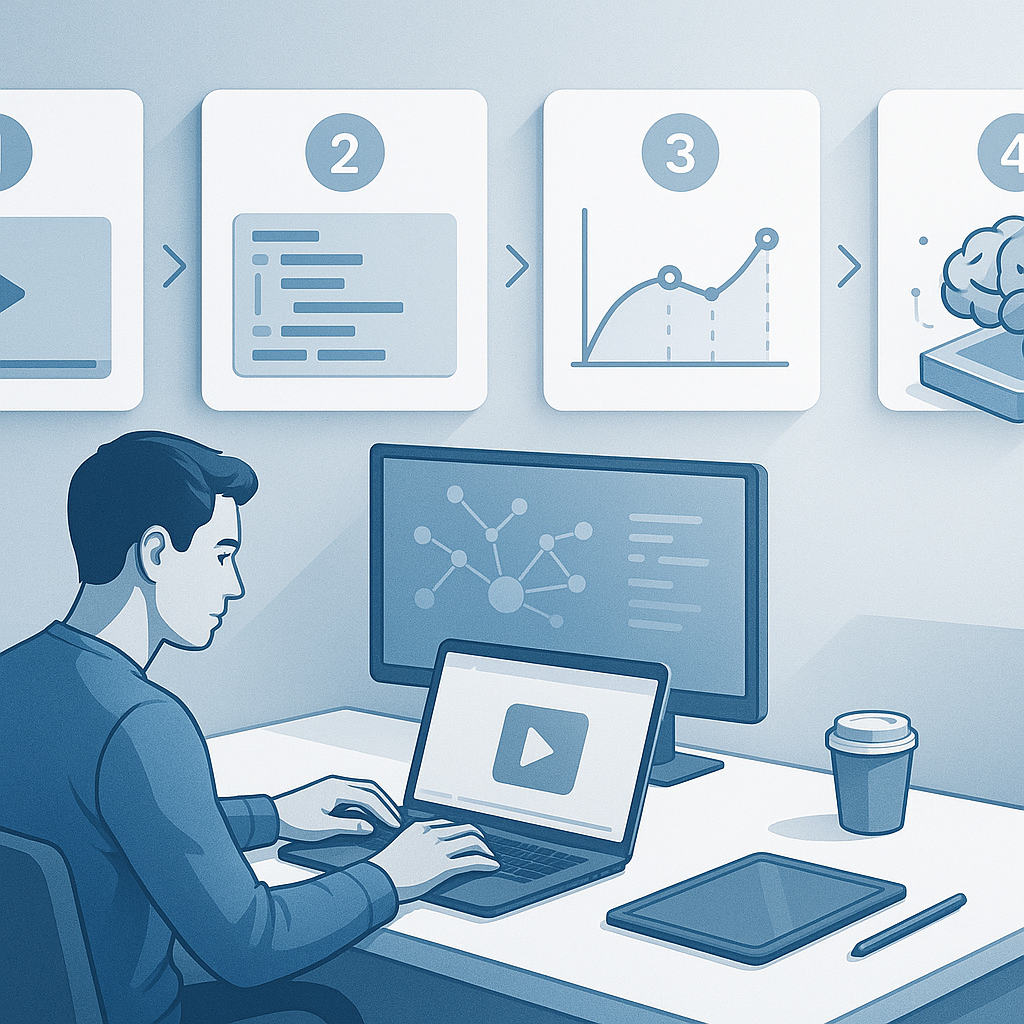
Video tutorials offer a different learning path: they combine visuals, narration, and on-screen cues to guide users through each step.
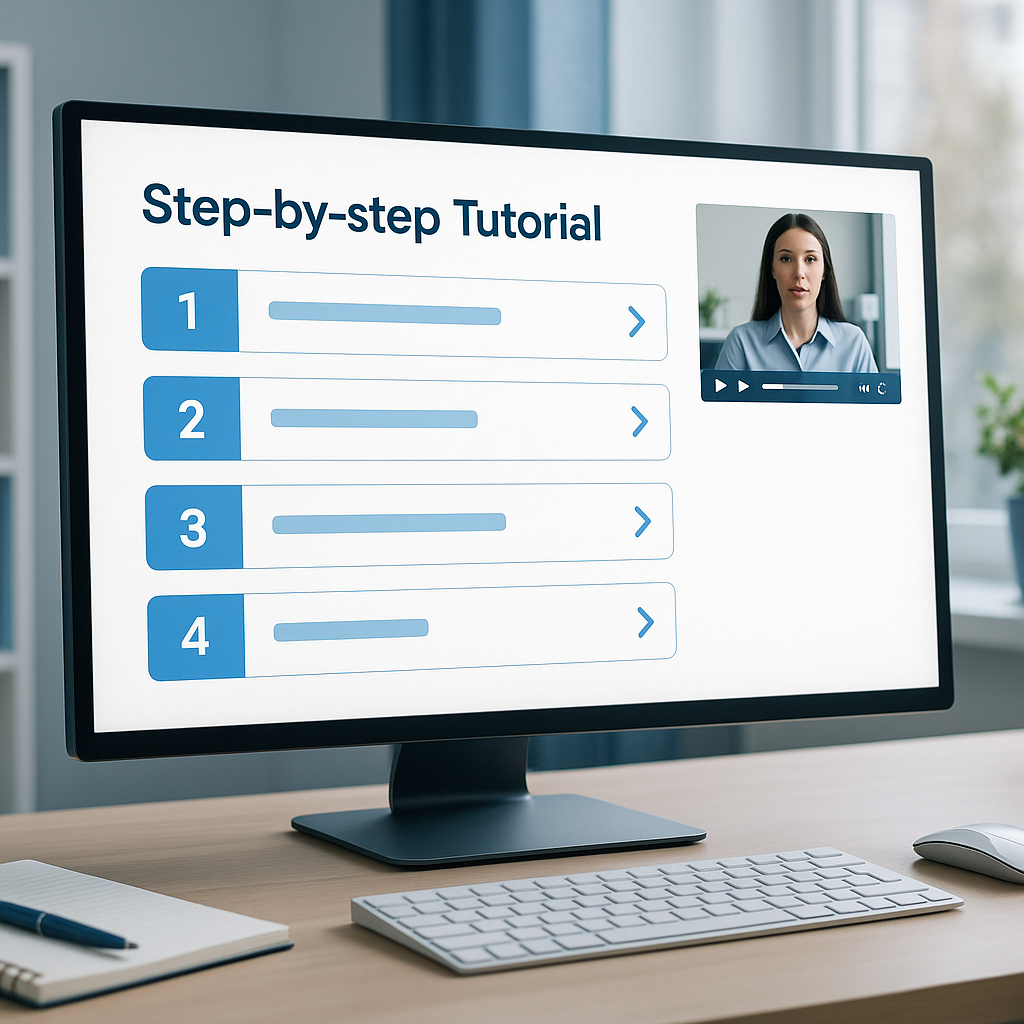
Converting user manuals into step-by-step video tutorials can dramatically improve onboarding, reduce support requests, and give users a clearer, more engaging way to learn. Start with planning and scripting to translate text into visuals, then produce concise, accessible videos that cover quick tasks and complex workflows. Keep iterations lightweight, test with real users, and maintain the videos like you do user guides—update them as features evolve.
If you’ve ever scanned a dense user manual and wondered whether there’s a better way for your team to learn, you’re not alone. Manuals are great for reference, but many users struggle to translate static text into action. That friction shows up as longer onboarding times, higher support tickets, and inconsistent experiences across users.
Video tutorials offer a different learning path: they combine visuals, narration, and on-screen cues to guide users through each step. When done well, instruction videos can cut through ambiguity, show exactly where to click, what to type, and what to expect next. As someone who’s helped teams move from text-only guides to multimedia help, I’ve seen how a well-executed video series can become a single source of truth for both new users and seasoned pros.
In this article, we’ll walk through a practical process to turn user manuals into step-by-step videos. We’ll cover planning, scripting, production, accessibility, distribution, and maintenance, with actionable tips you can apply today. Along the way, you’ll find “Pro tip:” and “Quick note:” callouts to keep things pragmatic, plus real-world insights you can adapt to your product and audience.
Keywords to keep in mind as you read: manual to video, tutorial creation, user guides, instruction videos. These phrases will show up naturally as we discuss the workflow and outcomes you’re aiming for.
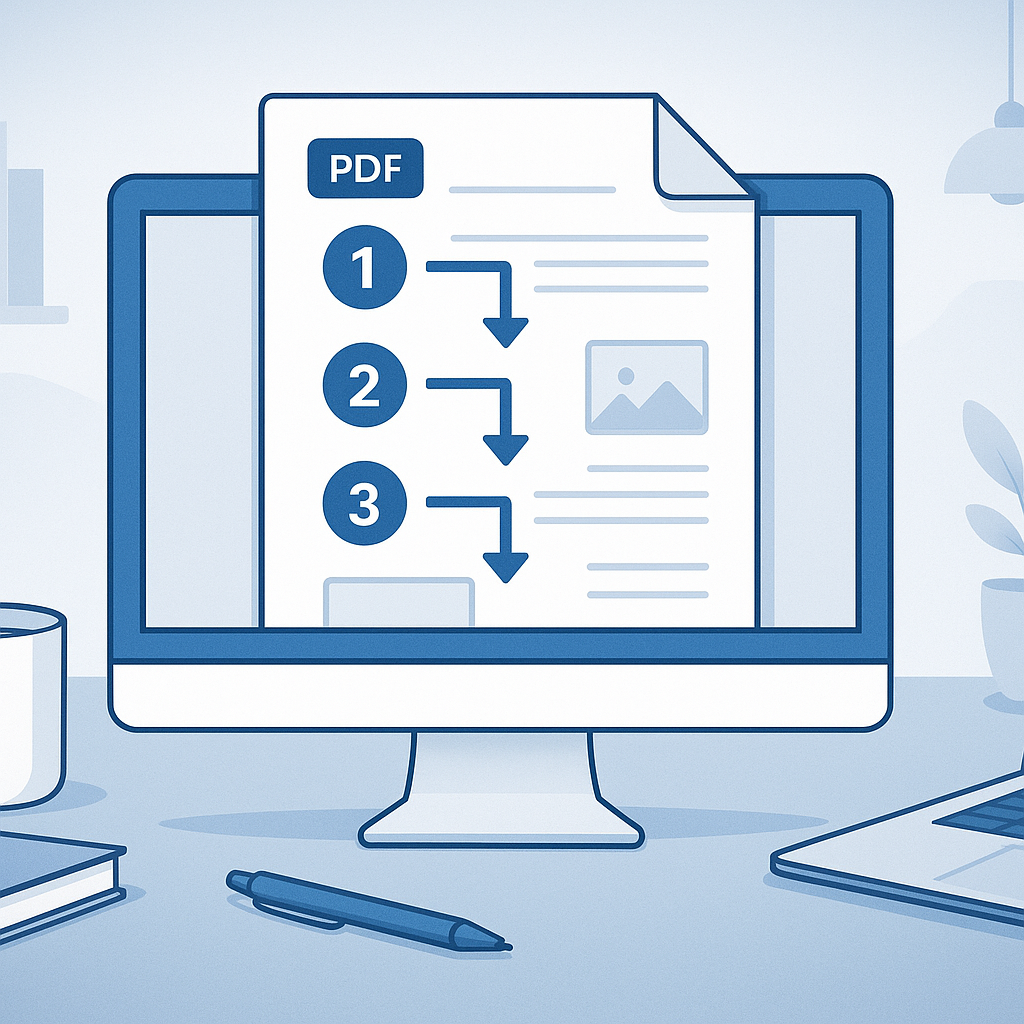
Turning a manual into a video starts with a plan. A wall of text is not what users want to watch; they want a clear, structured path to achieve a goal. This section covers how to audit your existing manual, define your audience, and craft a script that fits video storytelling.
Audit the manual: Start by skimming the current user manual to extract core tasks and sequences. Print or export a task map, noting dependencies, prerequisite knowledge, and potential failure points. Identify recurring patterns (e.g., “login, navigate to X, complete Y”) and group them into logical modules.
Define audience and learning objectives: Who’s the primary user for this tutorial? Are they beginners, power users, or admins? Write 2-4 learning objectives per video, such as “After this video, you’ll be able to create a new project, assign roles, and export a report.” Clear objectives guide content scope and help you measure success.
Chunk tasks into modular units: Avoid cramming every possible path into one video. Favor bite-sized episodes (3-6 minutes each for straightforward tasks; longer flows can be split into chapters or a short series). This aligns with how people consume video—progressive, digestible, and return-friendly.
Script for clarity, not just accuracy: Convert the manual’s steps into spoken language that’s natural and direct. Use a presenter voice or a clean narration that complements visuals. For each step, note the exact on-screen action, expected results, and any tips or caveats. Create a simple outline before you write full narration.
Storyboard your flow: A storyboard doesn’t have to be fancy. It can be a sequence of sketches or a slide-like outline showing what users will see (UI screens, toolbars, error messages) and what you’ll say. For screen-based videos, pairing visuals with narrated steps improves recall.
Quick note: identify decision trees or branching paths early. If your product offers different workflows (e.g., professional vs. standard modes), plan separate videos or clearly labeled chapters.
Pro tip: use a task-first approach. Frame each video around a user goal (e.g., “How to set up a new user account”) and then break the goal into the minimal steps needed. This helps users connect action to outcome, which improves retention and completion rates.
From my experience: you’ll save time later by labeling assets early—screenshots, screen recordings, icons, and UI states—so your editors can assemble quickly. It’s much easier to annotate a storyboard with exact UI elements than to chase them in a rush during production.
Quick note: if you’re replacing a corporate tone, maintain consistency with brand voice. A coherent voice makes a library feel cohesive and easier to navigate.
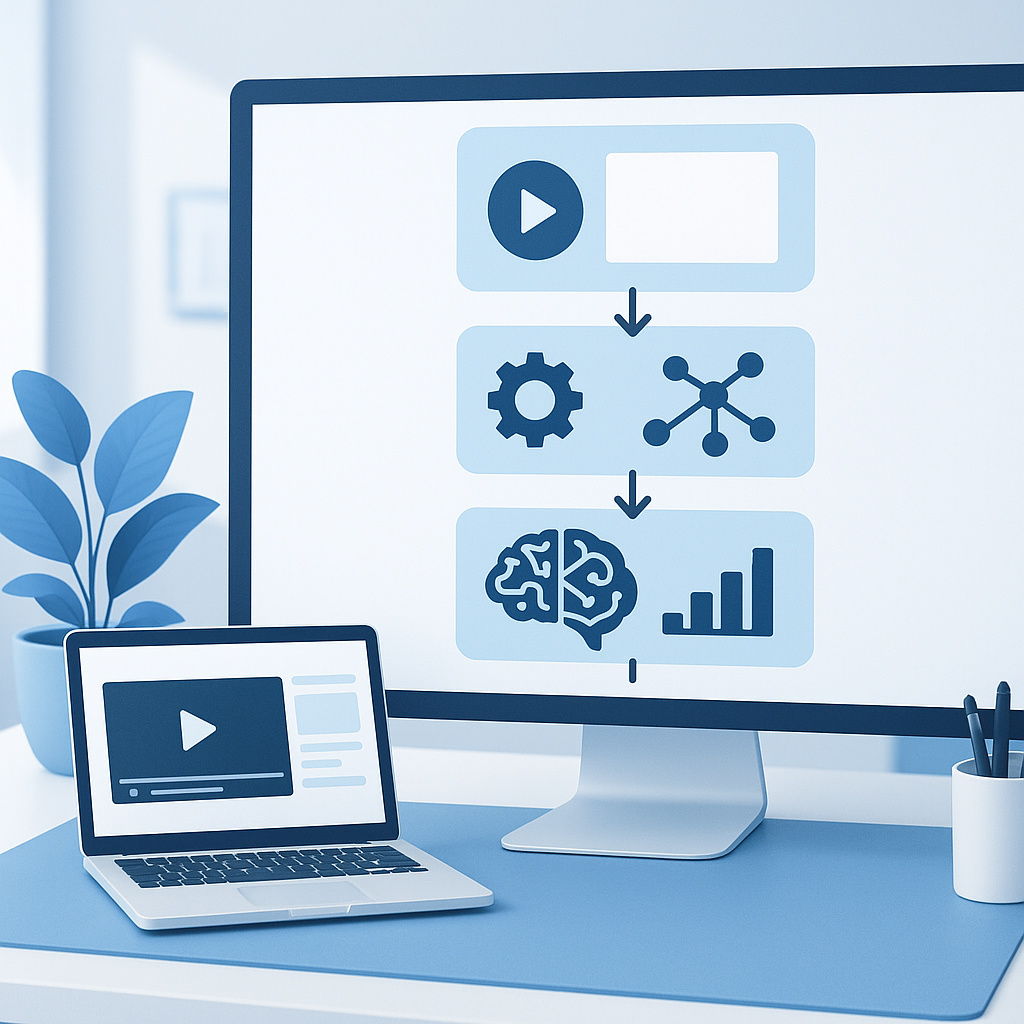
With a plan in hand, you move to the actual production. This section covers tooling choices, recording strategies, narration, on-screen cues, and pacing that keeps viewers engaged.
Pick the right format and tools: For many teams, screen recording paired with voiceover is enough to demonstrate procedures. Tools like Camtasia, Loom, OBS Studio, or ScreenFlow each have strengths:
Record in clear, high-quality audio first: Good audio is often more critical than perfect visuals. Use a decent microphone, record in a quiet room, and script a natural, conversational narration. Do a 1-minute read-through to check pacing and pronunciation before you start.
Visuals: use callouts, overlays, and zooms to guide attention:
Pacing and segmentation: a typical 3-6 minute video can cover a single task or a small set of closely related steps. For longer tasks, use chapters or break into a short series. Remember, viewer retention tends to dip after the 2-3 minute mark if content isn’t well structured.
Accessibility matters: add captions and a transcript. Automated captions are helpful, but human review reduces errors. Captions not only assist users with hearing impairments but also improve search indexing and comprehension.
Voice and tone consistency: maintain a consistent cadence and pronunciation across videos in the same series. If you’re covering a product with frequent updates, establish a standard for how you refer to screens, menus, and options to avoid confusion.
Quick note: maintain a consistent video resolution and frame rate. 1080p at 24–30fps is a safe target for UI tutorials; if your product supports 4K, you can deliver higher quality but keep bandwidth in mind for typical learners.
Pro tip: consider a “cover video” for the series that explains the series purpose, where to start, and how to use the library. A short intro screen can orient new users before they dive into the steps.
From my experience: start with a pilot video that covers a common task and test it with a small user group. The feedback will reveal confusing terms, unclear UI cues, or pacing issues you wouldn’t catch until late.
Quick note: brand-friendly overlays—colors, fonts, iconography—keep your tutorials looking professional and familiar to your user base. Reuse a consistent visual kit across videos to reduce production time.
High-quality videos can reach more users if you plan for accessibility and distribution from the start. This section highlights captions, translations, and hosting considerations.
Captions, transcripts, and accessibility: captions improve accessibility and comprehension for all viewers, including non-native speakers and users in noisy environments. Provide a downloadable transcript as well for those who prefer reading or use assistive technologies.
Localization and translation: if your product serves a global audience, plan for translated captions and localized voiceovers. Start with a pilot language (e.g., Spanish or French) and measure how translations affect completion rates and user satisfaction.
Consistent labeling and glossary: create a glossary for product terms, features, and acronyms used in the videos. This reduces confusion across languages and ensures consistency.
Hosting and distribution strategy: host videos where your users already go—your product’s help center, knowledge base, or internal wiki. Consider embedding videos directly in user guides and linking to a video series index or playlist. You can also repurpose videos as embedded learning modules in a CMS or learning platform.
SEO for video content: video search is powerful. Use descriptive titles, captions, and transcripts to improve discoverability in both platform search results and external engines. Clean video metadata helps users find the right tutorial quickly.
Quick note: consider accessibility standards (like WCAG) when you plan captions, transcripts, and keyboard navigability within embedded players. Small investments here pay off in broader usage.
Pro tip: create a simple index with topic-based thumbnails and chapter markers. Users can skim and jump to the exact step they need rather than watching the entire video. This reduces friction for time-critical tasks.
From my experience: localization is often underestimated. A well-translated set of videos can open up new markets and significantly reduce language-related onboarding challenges.
Software products evolve, and so should your video tutorials. This section explains how to maintain your video library, measure impact, and iterate based on feedback.
Version control and change management: tie video updates to product release notes. When a UI changes, tag the corresponding video update in your CMS and annotate what changed. Maintain a versioned library so users know they’re watching content aligned with their product version.
Metrics that matter: track use and impact to justify continued investment. Useful metrics include:
Feedback loops: embed a lightweight feedback mechanism at the end of videos (e.g., a quick yes/no question or a short form). Combine this with periodic user interviews or support data to identify gaps.
Content hygiene: schedule quarterly reviews of the video library to retire outdated videos, update screens for new versions, and adjust pacing based on new user behavior.
Quick note: for fast-moving products, you may parallelize video updates with product sprints. This helps ensure that critical tasks stay accurate as features roll out.
Pro tip: repurpose “super-short” clips as troubleshooting micro-videos (30–60 seconds) focused on a single action or common pitfall. These are easy to produce, easy to consume, and highly effective for reducing friction.
From my experience: a small, regular update cadence keeps your videos trustworthy. A stale library undermines confidence and sends users back to old manuals or support channels.
Converting user manuals into step-by-step video tutorials isn’t just about making things look nicer; it’s about giving users a more natural, reliable way to learn. A well-planned plan, crisp scripting, thoughtful production, and a strong commitment to accessibility and maintenance turn dense manuals into a living, useful library. The payoff isn’t theoretical: you’ll likely see faster onboarding, fewer support tickets, higher user satisfaction, and a library that scales with your product.
Here’s the gist, distilled:
If you’re new to this, pick one critical task that users struggle with and create a pilot video. Use that as a learning lab: test with real users, gather feedback, and refine. Once the format feels right, you can scale up into a full tutorial series—turning your “manual to video” project into a practical, measurable asset that supports your users long into the future.
If you’d like, I can tailor this plan to your specific product and audience. Share a short sample of your current manual and your primary user persona, and I’ll draft a 1–2 video plan (objects, objectives, scripts, and approximate production timelines) to get you started.
Get the latest insights on AI-powered document conversion, productivity tips, and industry updates.
No spam. Unsubscribe at any time.
Transform complex documents into engaging explainer videos with AI. Step-by-step guide for creating professional educational and marketing videos.
From my experience, the hardest part isn’t the technology—it’s translating a paper’s argument into a story with a beginning, middle, and end.
Transform PDF documents into professional presentation slides automatically. Step-by-step guide with AI tools and best practices for effective presentations.