How to Convert Case Studies into Client Success Story Videos
TL;DR
Case studies are great on the page, but videos bring them to life. This guide walks you through turning written case studies into compelling client success story videos that build trust, humanize metrics, and boost conversions. You’ll learn how to extract the right insights, craft a tight script, choose the right visuals, streamline production with testimonial automation, and optimize distribution for maximum impact. By the end, you’ll have a practical, repeatable process you can apply to multiple case studies—producing client stories that feel authentic rather than boilerplate.
Introduction
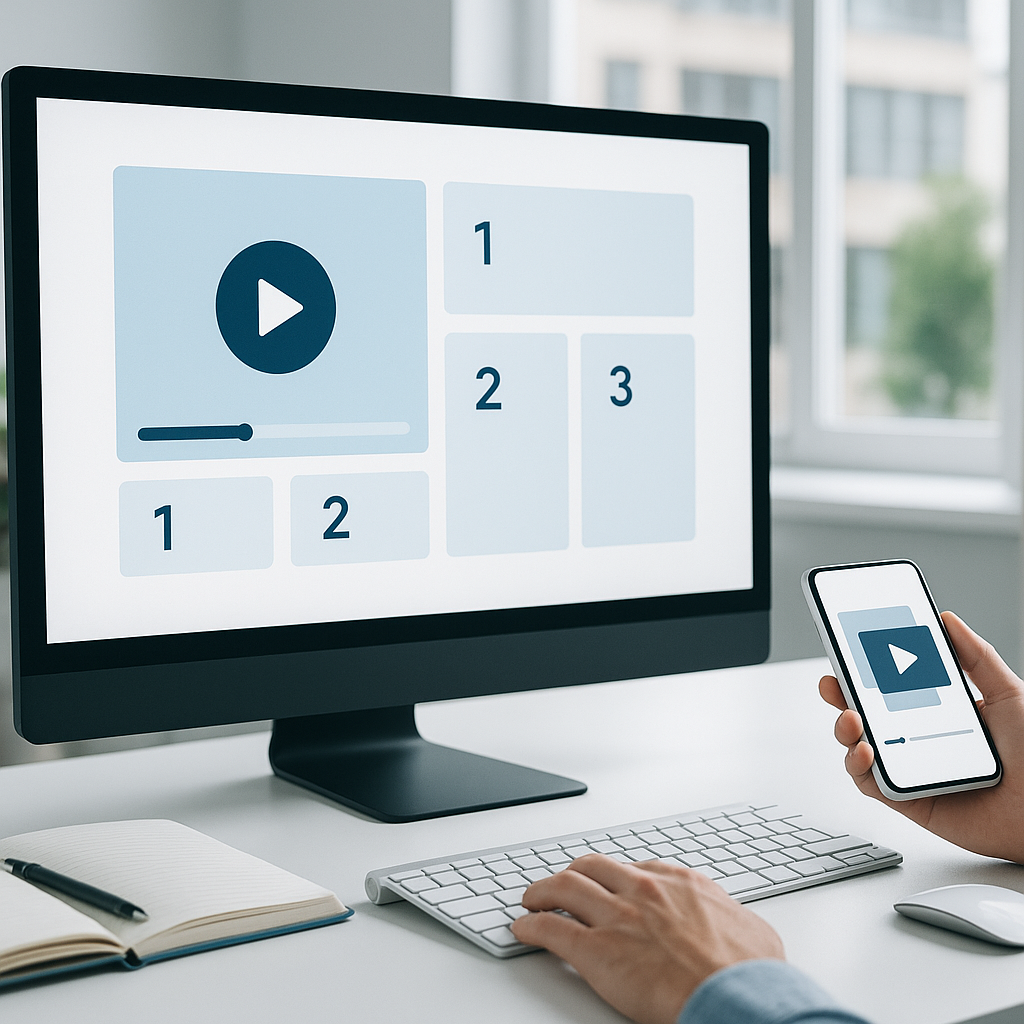
Case studies show what your product or service can do, but they often stay in a document or PDF, behind a form or on a single page. In contrast, client stories in video format convey emotion, personality, and real-world impact in under a couple of minutes. People connect with people, not bullet points. A well-crafted client success story video can humanize your brand, demonstrate ROI with visual evidence, and shorten the buyer’s journey.
From my experience, teams that transform case studies into short, story-driven videos see higher engagement on landing pages, longer session times, and more qualified leads. The challenge isn’t just “record a talking head.” It’s distilling a robust case study into a narrative arc that highlights the problem, the solution, and measurable results—without overloading viewers with jargon or data dumps. This article will give you a practical, repeatable process to convert your case studies into client stories that resonate.
Pro tip: Start with a single, well-done client story video. Use that as a model to scale across other case studies. Quick note: consent and ethical storytelling are crucial—always get written permission from clients and give them control over how the footage is used.
Main Content Sections
1) From Case Study to Video Script: Mining the Narrative Gold
Turning a case study into a video starts with the script. Your script is the backbone that keeps the video focused and emotionally engaging.
Key steps
- Identify the core arc: problem → solution → result.
- Extract the client’s voice: pull direct quotes, or paraphrase in a natural, conversational tone.
- Highlight measurable outcomes with visuals: map metrics to on-screen charts or quick animations.
- Prioritize the most compelling moments: the aha moment, the biggest hurdle, or a surprising benefit.
- Write for listening: avoid long paragraphs; use short sentences and plain language.
A practical workflow
- Gather the original case study and any interview notes from the client.
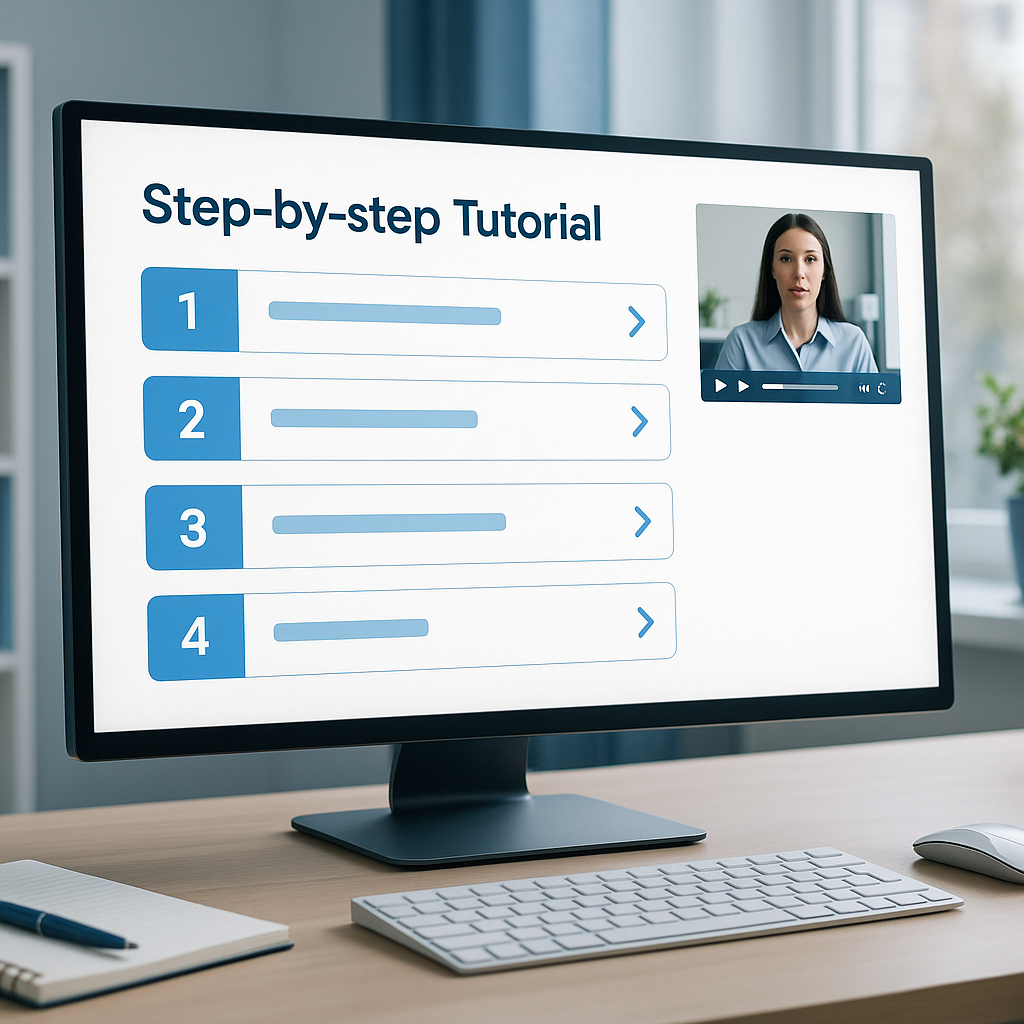
- Create a one-page storyboard outline: 3 acts (challenge, intervention, impact) plus 2–3 micro-beats.
- Draft a 60–90 second script for a talking-head or interview format, weaving in client quotes where needed.
- Create a 120–180 second extended version with visuals, charts, and B‑roll to support the data points.
- Build a 15–30 second teaser version for social.
Script outline example
- Hook (5 seconds): “Three months ago, ABC Co. faced [problem].”
- Problem (15 seconds): Briefly describe the challenge with a concrete impact metric.
- Solution (25 seconds): Explain how your product/service addressed the problem, including a client voice line if possible.
- Results (30 seconds): Show the outcomes with numbers, dashboards, or visuals (e.g., “30% faster time-to-value”).
- Client quote + CTA (10 seconds): “What surprised you most about working with us?” followed by a call-to-action.
From my experience, having the client narrate a short problem-then-solution line in their own words creates a stronger emotional connection than a dry narration from your team. If you don’t have a direct quote, you can craft a paraphrase that sounds natural and then test it with the client for approval.
Pro tip: Build a 2–3 sentence client voice-over bank. These are short, authentic lines you’ll reuse across videos (e.g., “We saved weeks of manual work,” “The visibility improved dramatically”). Quick note: keep a consistent tone that matches your brand voice—professional, but not robotic.
What to capture during the interview
- The problem’s business impact (not just the feature)
- The moment they realized they needed help
- The quantifiable impact after implementation
- A brief, memorable quote that illustrates the outcome
- Any unexpected benefits (soft wins)
Data and statistics to anchor the story
- Tie outcomes to specific metrics from the case study (ROI, time-to-value, cost reductions, user adoption rates).
- If the case study includes before/after metrics, present both sides visually (e.g., a split screen or side-by-side charts).
From my experience, a short “before vs. after” framing is incredibly powerful. It helps viewers quickly grasp the value and makes the math feel tangible.
Pro tip: Create a one-page “video brief” for your production team that lists the top 3–5 metrics and the exact quotes you want. This keeps the project aligned with the core story and reduces re-shoots.
2) Visual Strategy: Formats, Assets, and Accessibility
Choosing the right visual approach is about balancing authenticity, production time, and budget. You can mix formats to keep things interesting and different platforms.
Common formats
- Talking-head interview with B‑roll: The client speaks about the problem and results while visuals of their environment and product usage play in the background.
- Voiceover with client interview cut-ins: A voiceover explains the narrative, with short interview clips and supporting B‑roll.
- Animated explainer or motion-graphics narrative: Great for abstract metrics or processes, or when client footage is limited.
- Hybrid: Live interview + animated charts + customer footage for a dynamic feel.
Asset considerations
- B‑roll ideas: at-work shots of the client’s team using the product, dashboards on screens, onboarding sessions, support calls, product demos.
- On-screen data: keep charts clean, labeled, and brand-aligned; use motion to emphasize key numbers.
- Music and sound design: choose music that matches the video’s tone; ensure licenses are cleared.
- Captions and accessibility: always provide captions. A surprising portion of viewers watch without sound, especially on social.
- Branding: consistent colors, typography, and logo treatments. Avoid over-branding; let the client story breathe.
Consent, ethics, and legal
- Get written consent to feature the client’s name, logo, and the footage publicly.
- Confirm permission for any third-party data shown (e.g., screenshots of dashboards, internal metrics).
- Provide a simple “story usage rights” brief to the client and keep a signed copy in your project folder.
Pro tip: If you’re pressed for time, shoot a quick “safety line” interview with the client where they answer 3 quick prompts (problem, solution, results). These lines are gold for getting the video going quickly in the editing room.
Quick note: If you have limited client footage, lean on a robust motion-graphics sequence to illustrate outcomes. It’s better to show a polished chart that communicates impact than to force footage that doesn’t exist.
Visual storytelling ideas to try
- Timeline visuals showing the client’s journey from problem to impact.
- Dashboard snapshots animated to highlight changes (e.g., “Before: 12 alerts/day; After: 2 alerts/day”).
- Customer avatars with quick quotes to humanize the numbers.
- “A day in the life” sequences that demonstrate how your solution integrates into existing workflows.
3) Production and Editing Workflow: Run a Tight, Repeatable Process
A repeatable process is essential if you plan to convert multiple case studies into client stories. Here’s a practical workflow you can adopt.
Pre-production
- Build a content calendar: plan 4–6 case-study videos per quarter if possible.
- Create a standardized interview guide with 6–8 questions aligned to the case study’s outcomes.
- Schedule shot days with clear time blocks: interviews, B‑roll, product shots, and B‑roll pickups if needed.
- Define success metrics for the video itself: watch time, completion rate, goal completion on the landing page.
Production
- Interview setup: good lighting (three-point lighting if possible), clear audio (lav mic or shotgun mic), and a quiet space.
- Shoot a mix of macro shots (hands typing, screens) and close-ups (client faces, expressions) to add emotional texture.
- Capture room tone and environmental audio for a natural feel.
Editing and post-production
- Rough cut first: assemble the narrative arc using the script, then layer in B‑roll and graphics.
- Level and clean up audio: avoid peaks, normalize levels across the video, and ensure voice is clear over music.
- Visual polish: color grade to ensure consistency with your brand, add lower thirds for client names and roles, and incorporate branded lower-thirds graphics for key metrics.
- Motion graphics: use simple charts and arrows to illustrate metrics, but don’t overwhelm the viewer with complexity.
- Quality checks: check captions accuracy, fix any audio pops, and verify that the client’s quotes still feel natural in context.
Automation opportunities
- Testimonial automation tools can help you collect structured feedback from clients that map directly to your video narrative. For example, after a project wrap, you can trigger a survey that elicits a short quote, consent, and preferred usage. This streamlines gathering material for future videos.
- Template-based editing: maintain a video template with branded elements, fonts, and color palettes so you can plug in new client data quickly.
- Transcription-based editing: auto-transcriptions speed up editing, arc creation, and captioning, and help you identify the strongest quotes.
From my experience, automation isn’t about replacing human storytelling; it’s about making the process scalable. You still need a human review to ensure the client story remains authentic, accurate, and respectful of the client’s voice.
Pro tip: Build a shot‑list that doubles as a “story skeleton.” Include a handful of go-to visuals that you can reuse across videos (e.g., a universal opening montage of your product in action, the “impact” chart, and a closing CTA slide). Quick note: keep your video lengths varied—60–90 seconds for social, and 3–4 minutes for a deeper case study on your site.
4) Distribution, Measurement, and Optimization: Get Results from Your Client Stories
A video is only as good as its ability to reach the right audience and drive action. Plan distribution with purpose and measure what matters.
Distribution plan
- Website landing pages: embed the video on product or industry pages, with a short description and a prominent CTA.
- Email nurture: include the client video in an onboarding or win-back sequence with a tailored message.
- Social channels: create short teaser clips (15–30 seconds) with captions for LinkedIn, YouTube, and Twitter/X.
- Sales enablement: arm your team with a client story video for discovery calls and demos.
- SEO and discoverability: optimize video title, description, and tags. Add a transcript for accessibility and SEO benefits.
- Accessibility: captions, transcripts, and an accessible video player ensure you don’t exclude any audience.
Performance metrics to track
- Engagement metrics: view count, watch time, 2x or more depth on page, scroll depth, social shares.
- Conversion metrics: video-assisted conversions, CTA clicks, form submissions, demo requests tied to video views.
- Retention and sentiment: measure how long viewers stay, where they drop off, and gather qualitative feedback via comments or post-view surveys.
- Brand lift and recall: run brand lift surveys periodically to gauge changes in perception after publishing client stories.
Data-backed impact (what you can aim for)
- Video content on landing pages can significantly boost engagement and time on page, with many teams reporting higher conversion rates when a video is present.
- Brand recall tends to improve when you combine authentic client voices with visuals of outcomes—viewers remember the story longer than a text-only case study.
- Short, shareable client stories often outperform longer ones on social, especially when captioned and optimized for mobile.
Pro tip: Use a simple A/B test to compare a page with a client video against the same page with a text-only case study. Even small improvements in watch time or CTA conversion can justify investing in more videos. Quick note: always track the data against your predefined goals (lead capture, demo bookings, etc.) so you know what’s working.
From my experience, the best client stories are the ones you can reuse across multiple formats. A 60–90 second main video can become a 30-second social cut, a 15-second teaser, and a version with a voiceover for an onboarding sequence. It’s about modular content that you can remix without re-shooting everything.
FAQ Section
- What is the best length for client success story videos?
- For most audiences, 60–90 seconds is ideal for a homepage or landing-page video. If you’re showcasing a complex ROI story, 2–3 minutes works on a case-study page, but keep it tight—edit ruthlessly to preserve interest. Quick note: have a shorter teaser (15–30 seconds) for social distribution.
- How do I obtain client consent for case study video?
- Start with a formal written release that covers usage rights, platforms, duration, and any geographic or language limitations. Give the client a preview link and a final approval step. Pro tip: include a “right to edit” clause since you’ll likely cut multiple versions for different channels.
- How long does it take to produce a case study video from a written case study?
- A well-planned project can take 2–4 weeks from kickoff to delivery, assuming you’ve scheduled interviews, shot B‑roll, and have a ready-to-use script. If you’re chasing tight deadlines, a 1–2 week sprint with a simple interview and batch editing is possible—just be clear about what you can and can’t guarantee.
- What tools help with testimonial automation?
- Look for tools that collect structured feedback and consent and integrate with your workflow. Examples include survey platforms with conditional prompts, CRM-enabled testimonial capture forms, and video editing templates that you can reuse. Quick note: automation should aid storytelling, not replace human validation. Pro tip: build a “quote bank” from client interviews and structured surveys so you have ready-to-use lines for future videos.
- How can I measure ROI of case study videos?
- Track downstream metrics tied to your goals: demo requests, contact forms completed, or pipeline velocity after viewers watch the video. Use UTM parameters on video links to attribute traffic, and set up conversion events in your analytics. A/B test pages with and without video to quantify uplift. Pro tip: pair video with a personalized outreach email to better connect viewership with a sales action.
- Should I use animated vs. live-action for client stories?
- Live-action with real clients tends to feel more credible and personal, especially when you can show the client and their environment. Animation is great for abstract metrics or when you need to explain complex processes succinctly. Quick note: you can mix formats—start with a talking-head or interview, then add motion graphics to illustrate data.
- How many customer stories should I feature?
- Start with 3–5 core stories that cover a range of industries, company sizes, and use cases. This gives you a diversified library without overwhelming your audience. As you publish more, you’ll learn which stories resonate most and can scale up accordingly.
- How do I ensure authenticity and avoid sounding “salesy” in client stories?
- Let the client’s voice shine. Use direct quotes and real-world outcomes rather than marketing speak. Spotlight challenges and imperfect moments as part of the journey. Viewers connect with authenticity more than a perfect pitch. Pro tip: include a candid “lessons learned” moment from the client to humanize the narrative.
Conclusion
Turning case studies into client success story videos is less about translating words into pictures and more about translating impact into emotion and clarity. By extracting the core narrative from your case studies, choosing the right visual strategy, and implementing a repeatable production and distribution workflow, you can create client stories that resonate, persuade, and convert.
Key takeaways
- Start small with one strong case study video, then scale using templates and a standardized process.
- Focus on the narrative arc: problem, intervention, impact, and client voice.
- Use a mix of formats (talking-head, interview cut-ins, motion graphics) to keep viewers engaged.
- Leverage testimonial automation to streamline gathering quotes and approvals, but preserve authenticity through human review.
- Measure impact with on-page engagement, conversions, and ROI, then optimize based on data.
From my experience, the most effective client stories feel human and specific. They show not only what you did, but why it mattered to the client—and why it will matter to others. With a solid script, a smart visual plan, and a scalable production workflow, you can turn every case study into a client success story video that earns your audience’s trust and moves them toward action.
Pro tip: Use a one-page video brief for each case study. It should include the hero metric, the client quote, the preferred format, and the distribution plan. Quick note: keep a master library of reusable assets—logos, color palettes, lower-thirds, and intro/outro sequences—so you can spin up new videos quickly without reinventing the wheel.
If you’re ready to start, pick one case study with a clear, standout result and draft a 60–90 second script using the steps above. Then plan a mini production run: one interview, a few B‑rolls, and a couple of basic graphics. You’ll be surprised how quickly momentum builds—and how much more compelling your client stories become when they’re told through video.