How to Convert Event Transcripts into Highlight Reel Videos
TL;DR
Turning long event transcripts into punchy highlight reels is all about smart planning, precise extraction, and tight editing. Start with clean, timestamped transcripts, then define what counts as a “highlight” (moments with impact, questions, demos, or quotable lines). Cut clips from the video using those timestamps, stitch them into a cohesive narrative, add captions and B‑roll, and polish with pacing, music, and accessibility in mind. With a solid workflow, you can go from hours of footage to a 30–90 second social-ready reel fast.
Introduction
Events—conferences, product launches, trainings, panel discussions—generate mountains of content. You’ll often end up with lengthy videos and transcripts that aren’t ready for social or marketing streams. The real value lies in transforming those transcripts into highlight reels that capture the essence of the event: the aha moments, the crowd reactions, the tricky questions, and the demo breakthroughs. When done right, a well-edited highlight reel becomes a powerful content asset for content curation, repurposing, and audience engagement.
From my experience, the biggest wins come from systematizing which moments matter and how to present them. AI-powered transcript processing can do a lot of the heavy lifting, but you still need human judgment to ensure context, tone, and accuracy. Below, I’ll walk you through a practical, repeatable workflow that moves from raw transcripts to a polished highlight reel.
- Event highlights can drive engagement on social, nurture leads, and give busy audiences a fast way to grasp key takeaways.
- Transcript processing helps identify quotable lines, moments of suspense or excitement, and decisions or results that deserve a closer look.
- Content curation is easier when you treat transcripts as a searchable, time-stamped map of your event’s best moments.
Pro tip: Start with a clear goal for the reel. Is it to summarize a keynote, to showcase a product demo, or to highlight the Q&A with audience questions? Your goal will shape what you auto-extract from the transcript and what you’ll manually refine.
Quick note: If you’re new to transcript processing, don’t expect perfection on day one. It’s normal to iterate—transcripts improve with better audio, model choice, and a quick human pass.
Main Content Sections
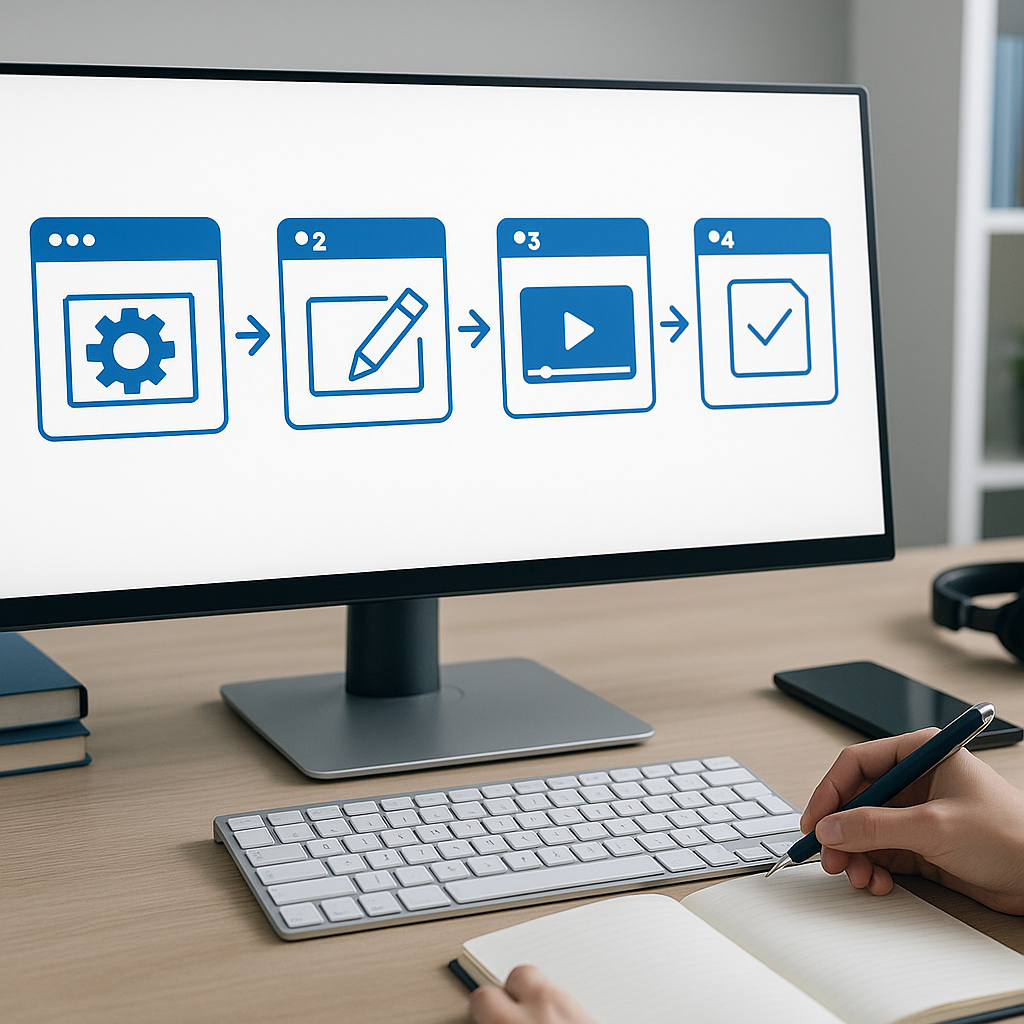
1) From Transcript to Highlights: Plan, Transcribe, and Tag
The journey begins long before you slice video into clips. A solid plan reduces drift between what was said and what ends up in the final reel.
Key steps:
- Collect and harmonize transcripts with the video: Ensure you have precise timestamps and speaker labels. If you’re media-agnostic, you can source transcripts from your own recording, a transcription service, or live-caption tools. The goal is to have a transcript that maps cleanly to the video timeline.
- Clean and format: Remove excessive fillers if you can live with the tone, but keep the natural cadence where it helps comprehension. Normalize timestamps so that every sentence or thought matches a definite time window (for example, every 5–10 seconds).
- Annotate for 'highlights': Create a set of highlight criteria and tag phrases or sections accordingly. Examples include “quotable line,” “demo moment,” “big reveal,” “crowd reaction,” “problem statement,” and “closing takeaway.”
- Define how long each highlight should be: For social reels, 15–60 seconds is a safe range; for longer recap videos, you might aim for 1–2 minutes.
How to operationalize with tools:
- Use a transcription processor that exports timestamped transcripts (SRT or VTT). This makes it easy to map quotes to exact video frames.
- Leverage speaker diarization to distinguish viewpoints if your event has multiple speakers. This helps in deciding who’s part of the highlight and avoids misattribution.
- Incorporate a basic sentiment or emphasis pass. A sudden shift in sentiment (e.g., excitement around a product reveal) is often a great sign of a highlight moment.
From my experience, the most efficient way to proceed is to run a two-pass approach: first pass identifies potential moments by keywords and sentiment, second pass validates them for context and significance. A typical 2-hour conference might yield 6–12 minutes of candidate highlight material after a lift-and-filter pass, depending on content density and audio quality.
Pro tip: Create a lightweight “highlight map” in a spreadsheet or a note that ties each candidate moment to a timestamp range, a short rationale, and a proposed clip length. This becomes your north star during editing.
Quick note: If you’re short on time, you can start with a rough clip list (top 5–7 moments) and refine as you go. Don’t try to be exhaustive on the first pass.
2) From Quotes to a Story: Editing and Clip Assembly
Once you’ve flagged potential moments, the real craft begins: shaping these moments into a cohesive, engaging narrative. The best highlight reels tell a story, not just a random series of quotes.
What a strong reel looks like:
- A clear hook in the first 3–5 seconds to grab attention (controversy, bold claim, or a striking visual).
- 3–5 distinct moments, each with a quick setup and payoff, to keep pace.
- A logical arc, whether it’s problem → solution, question → answer, or surprise → takeaway.
- Consistent visual and caption style to reduce cognitive load and improve accessibility.
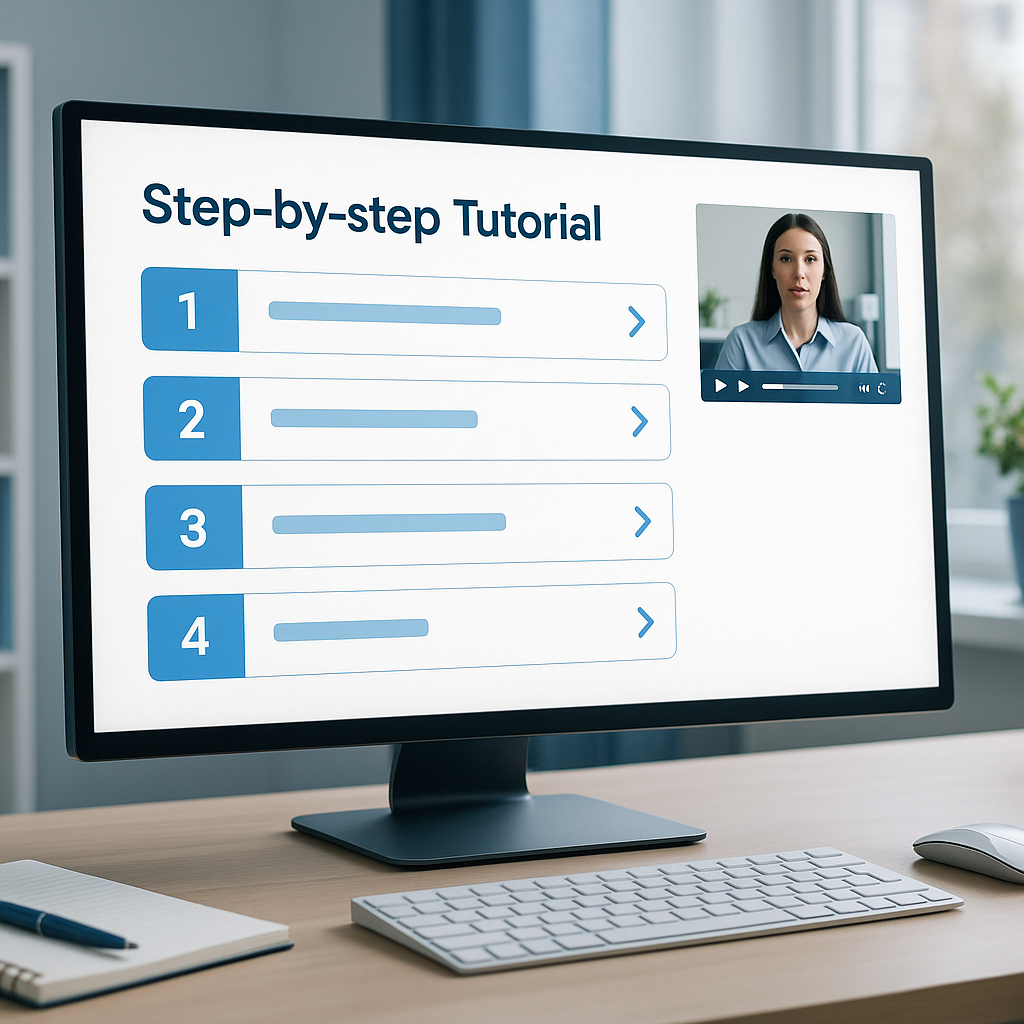
Step-by-step approach:
- Build a rough cut from the timestamped clips: Export the exact start and end times for each highlight moment. Keep the initial cut rough to focus on pacing and ordering.
- Determine the narrative order: You might group by theme (e.g., product demo, customer story, Q&A), or alternate between the biggest hits and audience reactions to maintain energy.
- Slice to the right lengths: Aim for 15–60 seconds per moment, depending on the platform. Shorter clips perform better on social; longer form reels work for YouTube or LinkedIn.
- Add captions and visuals: Since many viewers watch without sound, captions are essential. Align captions to each highlight beat and include speaker names when possible.
- Layer B‑roll and visuals: Overlay supporting B‑roll (crowd shots, product close-ups, slides) to give context and maintain visual interest. This also helps cover audio gaps and makes the edit feel dynamic.
- Treat the audio track: Normalize audio levels, reduce background noise, and consider a light music bed that doesn’t overpower the dialogue. Quick note: make sure you have rights to any music you use.
- Polish with a consistent look: Apply a simple color grade, a consistent font for captions, and a uniform transition style. The aim is a cohesive reel, not a montage.
Pro tip: Build your reel around a central piece of messaging or a signature moment. If the event had a keynote that revealed a groundbreaking capability, lead with that moment to create a strong throughline.
Quick note: If a moment seems exciting but comes from a noisy part of the room, consider swapping in a cleaner B‑roll moment that illustrates the same point (e.g., a slide, a product in action, or a participant’s reaction) to preserve clarity.
From experience, many editors underestimate the value of a strong opening hook. Even if you have great moments later, a weak opening can lose viewers within the first 5–10 seconds. A tight hook plus a quick demonstration of value typically yields better retention.
3) Polish, Accessibility, and Distribution: Getting It Right
The final phase is about making sure your highlight reel is accessible, compliant, and ready to perform on the channels where your audience lives.
Quality checks to run:
- Transcript and captions accuracy: Do a quick review to fix misheard names, numbers, or product terms. If you used automated captions, a human pass is often worth the investment.
- Caption timing and readability: Caption blocks should align to spoken phrases and stay onscreen long enough to read. Avoid overly long lines; break them up to preserve readability.
- Consistency across clips: Ensure fonts, color grade, and caption style stay uniform from start to finish. Inconsistent visuals can pull viewers out of the experience.
- Audio balance and music: Confirm dialogue is clear, music is not overpowering, and transitions are smooth. If there’s a lot of ambient noise during demos, apply a targeted noise reduction.
- Accessibility and inclusivity: Add summaries or key takeaways in the description, provide a full transcript as a companion resource, and ensure color contrast in captions meets accessibility standards.
Distribution considerations:
- Platform formats: 9:16 for reels and shorts, 16:9 for YouTube and LinkedIn, 1:1 for some social feeds. Create a primary cut and consider platform-specific trims.
- SEO and metadata: Write a compelling caption with event highlights keywords (event highlights, transcript processing, video summaries, content curation). Include time stamps in the description to help viewers jump to moments.
- Rights and permissions: If your event includes sponsor logos, third-party speakers, or copyrighted visuals, verify rights and add necessary credits or disclaimers.
- Analytics and iteration: Track watch time, retention rate, and click-throughs to longer content or a full recording. Use those insights to refine future reels.
Pro tip: Build a simple version-control system for edits. Keep a project file with clip timecodes, captions, and notes. When you update a clip, you can see how changes affect pacing and viewer engagement.
Quick note: If you’re doing multi-language events, consider multilingual captions or separate locale cuts. Subtitles broaden reach and improve accessibility across regions.
From my experience, the best highlight reels feel purposeful rather than random. They not only showcase key moments but also guide the viewer through a clear thread—what happened, why it mattered, and what’s next. When you align transcripts, highlights, and editing decisions around a single narrative aim, performance improves.
FAQ Section
- What is transcript processing?
- Transcript processing is the workflow of turning spoken audio from events into readable, searchable, and usable text with timecodes. It often involves transcription (automatic or human), speaker labeling, time-stamping, cleaning up filler words, and tagging sections for further analysis, like extracting highlights.
- How accurate are AI transcripts?
- AI transcripts vary with audio quality, speaker clarity, and background noise. In clean audio, AI transcription accuracy often lands between 90% and 98%. In noisier environments, accuracy might drop to 85–92%. A quick human review can push accuracy toward 98–99% for professional outputs.
- How long should a highlight reel be?
- For social platforms, 15–60 seconds is a sweet spot for maximum retention. You might publish a longer recap (60–120 seconds) on LinkedIn or YouTube if the content justifies it, but brevity tends to perform better on feeds like Instagram Reels and TikTok.
- How do you handle multiple speakers in transcripts?
- Use speaker diarization to distinguish voices and anchor quotes to the person who said them. When building the reel, you can emphasize a few speakers by name to add clarity, or you can group moments by topic rather than by speaker to maintain narrative flow.
- Do I need human review?
- Yes. AI can handle the heavy lifting of transcription and initial highlight detection, but a human reviewer helps correct misinterpretations, ensure contextual accuracy, and refine the storytelling. Expect to allocate a few hours for a typical 2-hour event, depending on your editing speed.
- What tools help with this workflow?
- Look for tools that offer timestamped transcripts, speaker labeling, and easy export to SRT/VTT. Also prioritize editors that support captioning, basic video editing, and easy export for social formats. You don’t need a single magic button—an integrated flow from transcript processing to editing is ideal, but many teams stitch together best-of-breed tools.
- How can I ensure accessibility and inclusivity?
- Always add captions and provide a full text transcript as a companion resource. Use high-contrast captions, keep reading speed comfortable, and include speaker identification. Multilingual captioning can widen reach if your audience is global.
- How do I measure the success of a highlight reel?
- Track metrics like total views, average watch time, completion rate, shares, and click-throughs to longer content (full recording or product pages). Qualitative signals—comments, questions, and saves—also indicate resonance. If you run A/B tests with different opening hooks or clip orders, you’ll learn what drives engagement for your audience.
- How should I package transcripts for future use?
- Save transcripts with clean timestamps and speaker labels. Tag sections with themes (e.g., “product demo,” “customer success,” “Q&A”). This makes future re-use for newsletters, blog posts, or social posts faster and reduces rework when you need new cuts or formats.
- What about licensing and rights for content used in highlights?
- Before publishing, ensure you have rights to all visuals, music, and any third-party content in your clips. If you’re using sponsor logos or third-party footage, secure permissions or licenses. Keep a simple rights log to avoid headaches later.
Conclusion
Transforming event transcripts into highlight reel videos is less about magic and more about a disciplined workflow: plan your highlights, extract moments with purpose, assemble a tight narrative, and polish for accessibility and distribution. Transcript processing gives you a scalable way to surface the most impactful bits, while careful editing ensures the reel feels cohesive and compelling. By tying your editing decisions to a clear goal—whether it’s driving sign-ups, explaining a concept, or showcasing a product—you’ll deliver content that resonates across channels.
Key takeaways:
- Start with clean, timestamped transcripts and a clear highlight definition.
- Use a two-pass approach to identify moments and then validate them in context.
- Build a narrative arc in the reel, not just a sequence of quotes.
- Prioritize captions, accessibility, and platform-specific formats.
- Measure performance and iterate for better results over time.
Pro tip: Treat each event as a library you’ll reuse. Tag highlights by topic and speaker, and store project templates for future events. Consistency in your process saves time and increases the quality of every reel you publish.
Quick note: Don’t underestimate the power of a strong hook. The first 3 seconds decide whether viewers stay, so lead with something surprising, insightful, or emotionally engaging that promises value.
From my experience, the most successful highlight reels come from teams that combine a strong editorial instinct with reliable transcript processing. The better you align the transcription data with a clear storytelling goal, the faster you’ll turn long recordings into repeatable, high-performing content that fuels your content curation strategy.