How-To Guides
How to Create Explainer Videos from Documents Using AI
Transform complex documents into engaging explainer videos with AI. Step-by-step guide for creating professional educational and marketing videos.
10 min read•9/24/2025
From my experience, the real magic happens when you treat this as a streamlined workflow rather than a one-off export.

We’ve all been there: a killer slide deck sits on your drive, but turning it into a compelling video presentation feels like a daunting extra step. You want smooth narration, clean slide animations, on-brand visuals, captions for accessibility, and a delivery format that’s easy to share on social, intranets, or client portals. The good news is that you don’t need to reinvent your entire presentation to get there. With a practical blend of PowerPoint features and AI-powered tools, you can convert PowerPoint slides to professional videos that look and sound like they were produced by a seasoned editor.
From my experience, the real magic happens when you treat this as a streamlined workflow rather than a one-off export. You start with a storyboard, let AI handle the heavy lifting for narration and captions, and then use lightweight video editing to polish pacing, music, and transitions. The result is a scalable process: you can turn a 10-slide deck into a 2–3 minute video in minutes, not hours, and you can repeat it across multiple decks with consistency.
In this article, I’ll walk you through a practical, soup-to-nuts approach to converting PowerPoint slides to AI-augmented videos. We’ll cover planning and design, building an AI-powered pipeline, optimization and polishing, and a few common pitfalls to avoid. You’ll find concrete steps, pro tips, quick notes, and a glossary of options so you can pick the right combination for your needs. If your goals include “presentation automation,” “slide animation,” and “video presentations,” you’ll come away with a repeatable process you can actually implement.
Turning slides into video is not just about pressing a button—it’s about pacing, storytelling, and accessibility. The first step is to plan with a storyboard and a script, then design slides with consistent visuals that travel well to video.
What to do
Audit your deck: Remove clutter, ensure a single visual theme, and standardize fonts and colors. A clean deck translates to smoother video generation. If some slides are too content-heavy, split them into multiple slides or replace dense text with visuals.
Create a storyboard: Map each slide to a spoken line or a short scene. Decide how long each slide should appear. For a crisp 2–3 minute video, you’ll typically want 60–90 seconds of speaking time spread across 6–12 slides, depending on the depth of each topic.
Script with AI (and refine): Draft a concise narration script for each slide. You can feed bullet points into an AI writing assistant to generate a natural-sounding script, then tailor it to your voice and tone.
Plan slide animation thoughtfully: “Slide animation” can amplify a point, but overdo it. Favor subtle entrances, emphasis, and exit animations that align with the narration. For video, consistent micro-animations create a polished feel without distracting.
Accessibility as a feature: Plan captions and readable contrasts from the start. Captions improve comprehension and broaden reach. If your audience includes non-native speakers or viewers in sound-off environments, this is essential.
Pro tip: Build a simple timing guide for each slide (e.g., Slide 1 – 8 seconds, Slide 2 – 10 seconds, etc.). This makes syncing narration with visuals much smoother when you start the AI voiceover work.
Quick note: Use PowerPoint’s built-in Design Ideas (Designer) to keep slides clean and cohesive. Then lock in a slide master with your logo, colors, and typography so every slide has a consistent look that translates well to video.
From my experience, starting with a storyboard reduces last-minute rewrites and helps you pick the right AI tools for narration and editing later. If you’re aiming for “presentation automation,” a well-defined storyboard is what makes batch-processing decks feasible.
This is the core of the workflow where AI adds speed and polish. You’ll combine PowerPoint exports with AI voiceover options, automated captions, and optional AI-assisted video editors to craft a professional finish.
What to do
Export strategy from PowerPoint:
AI voiceover and narration:
Auto-captioning and caption editing:
AI-assisted video editing and enhancement:
Automation for batch workflows (presentation automation):
Pro tip: Keep the timeline simple. If you’re just starting, create a 1–2 minute demo video from a 6–8 slide deck to validate pacing before scaling to longer presentations. A well-tuned baseline makes future decks easier to produce.
Quick note: When you mix PowerPoint exports with AI video editors, you’ll often get the best results by letting the AI handle the “scene” composition (stock footage, overlays) while you retain control over the script and branding. This keeps the video faithful to your message and brand while delivering a polished look.
From my experience, AI-powered narration and auto-captioning dramatically reduce production time. A typical 8-slide deck that used to take an hour to record and edit might only take 15–30 minutes with a good AI workflow, once you’ve established your templates and prompts.
After you’ve built the base video, it’s time to tighten the pacing, verify accessibility, and tailor the output for distribution channels. The details here often separate a decent video from a professional one.
What to do
Fine-tune pacing and transitions:
Audio quality:
Captions and accessibility:
Visual branding:
Export specifics:
Accessibility and SEO considerations:
Pro tip: Build a reusable video template. A single intro and outro, consistent lower-thirds, and a standard color treatment save time across decks and ensure a consistently professional feel.
Quick note: A lot of value comes from test viewing. Share a draft with a small internal audience and gather feedback on clarity, pacing, and the strength of the call to action. Small refinements can dramatically improve engagement.
From my experience, the most polished videos come from a tight feedback loop. If you can test early with your internal team and iterate on the script and pacing, you’ll avoid costly redesigns later.
Turning PowerPoint slides into professional videos with AI isn’t about replacing your deck; it’s about elevating it to a format that’s easier to share, easier to consume, and easier to scale. By combining a solid planning process with AI-powered narration, captions, and editing, you can produce high-quality video presentations that feel human, polished, and on-brand. The key is to treat this as a repeatable workflow rather than a one-off export.
Recap of the essential steps:
If you’re aiming for faster production cycles, better engagement, and scalable output, this AI-assisted approach can save you hours per deck while delivering a more compelling viewer experience. And as video becomes an increasingly dominant format for communication, investing in a solid PowerPoint-to-video pipeline isn’t just nice to have—it’s a strategic capability for modern teams.
Pro tip: Start with a small pilot deck, then expand to larger sets. Capture what works (voice tone, pacing, captions accuracy) and refine your templates. Quick note: always test on mobile devices and with captions turned on to ensure your message lands no matter where viewers watch.
From my experience, the payoff goes beyond faster production. The consistency, accessibility, and professional finish you can achieve with AI tools often lead to higher viewer retention and stronger engagement with your video presentations.
If you’d like, I can tailor this workflow to your specific tools (PowerPoint version, preferred AI voice provider, and video editor) and give you a step-by-step checklist you can reuse for future decks.
Get the latest insights on AI-powered document conversion, productivity tips, and industry updates.
No spam. Unsubscribe at any time.
Transform complex documents into engaging explainer videos with AI. Step-by-step guide for creating professional educational and marketing videos.

From my experience, the hardest part isn’t the technology—it’s translating a paper’s argument into a story with a beginning, middle, and end.
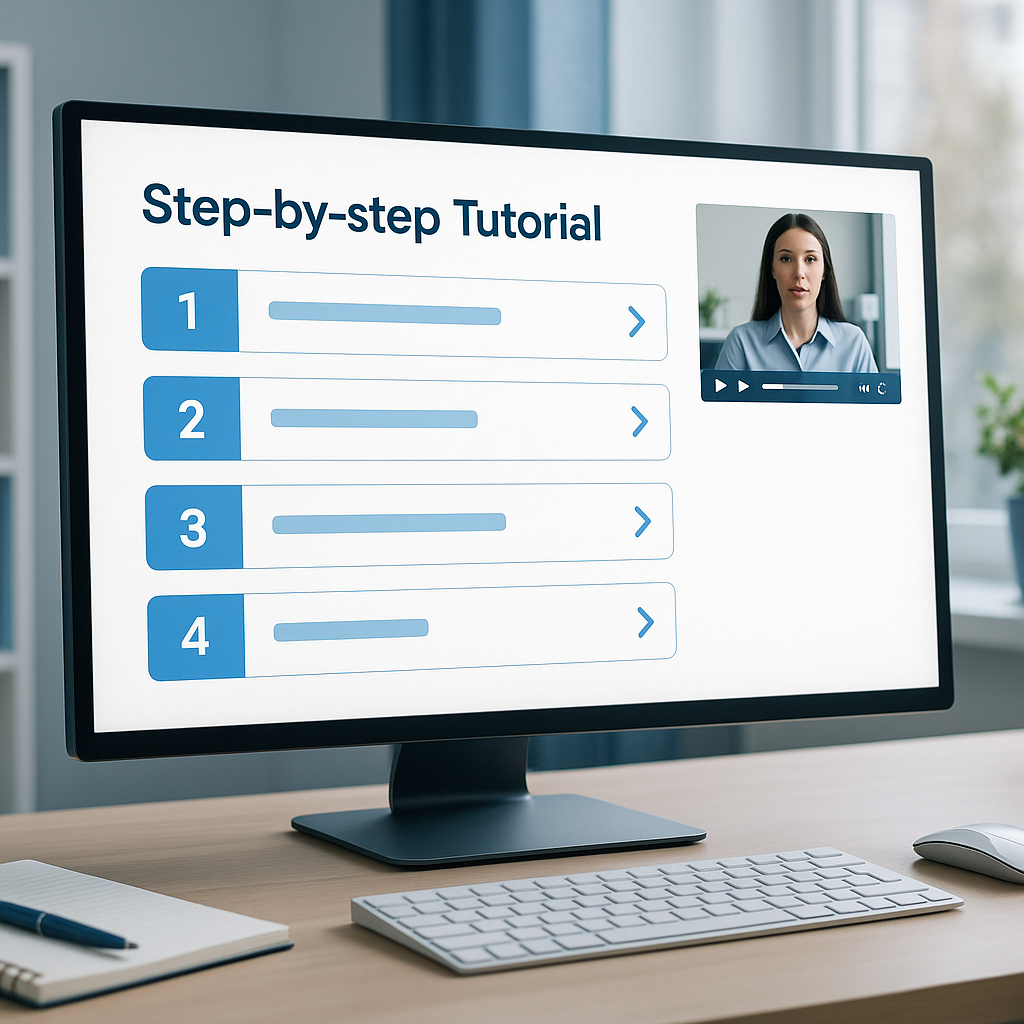
Video tutorials offer a different learning path: they combine visuals, narration, and on-screen cues to guide users through each step.