How-To Guides
How to Create Explainer Videos from Documents Using AI
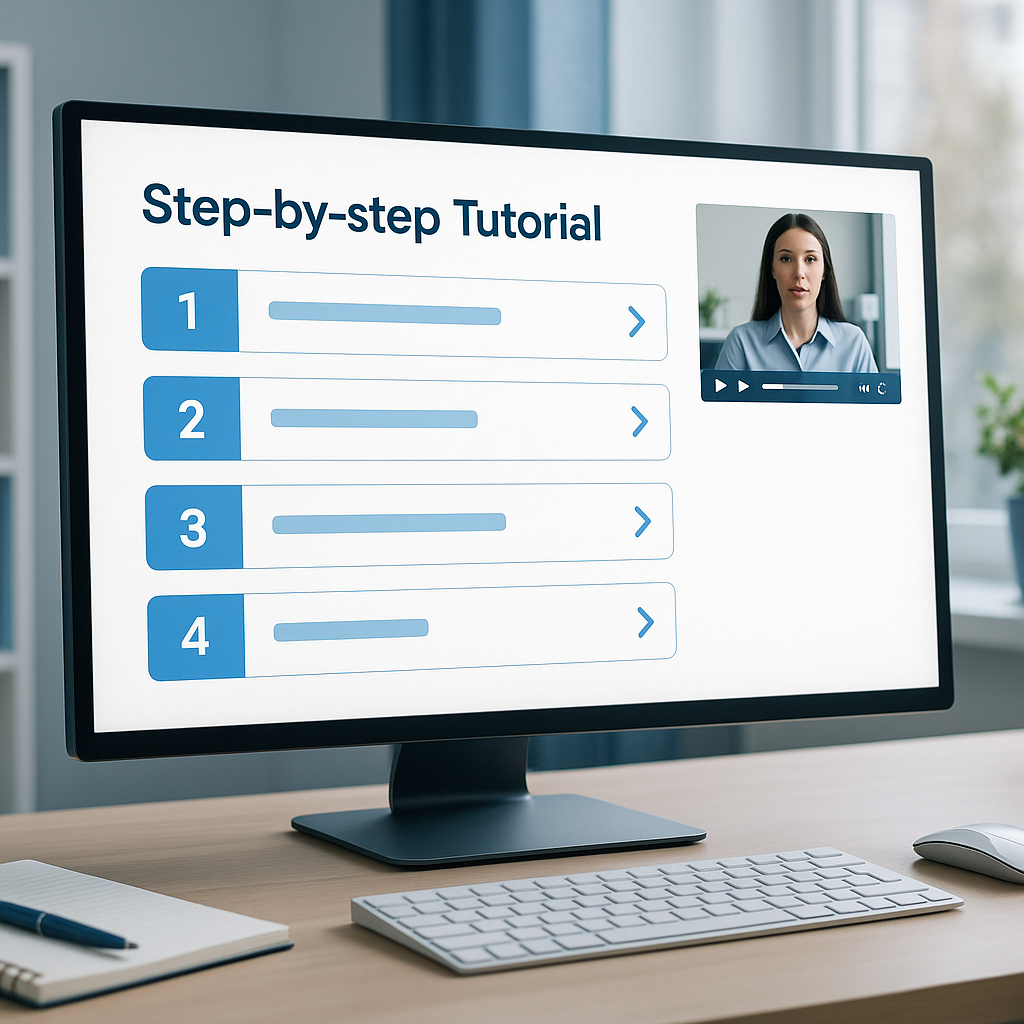
Transform complex documents into engaging explainer videos with AI. Step-by-step guide for creating professional educational and marketing videos.
10 min read•9/24/2025
From my experience, the trick isn’t just converting pages to video; it’s designing a learning journey.
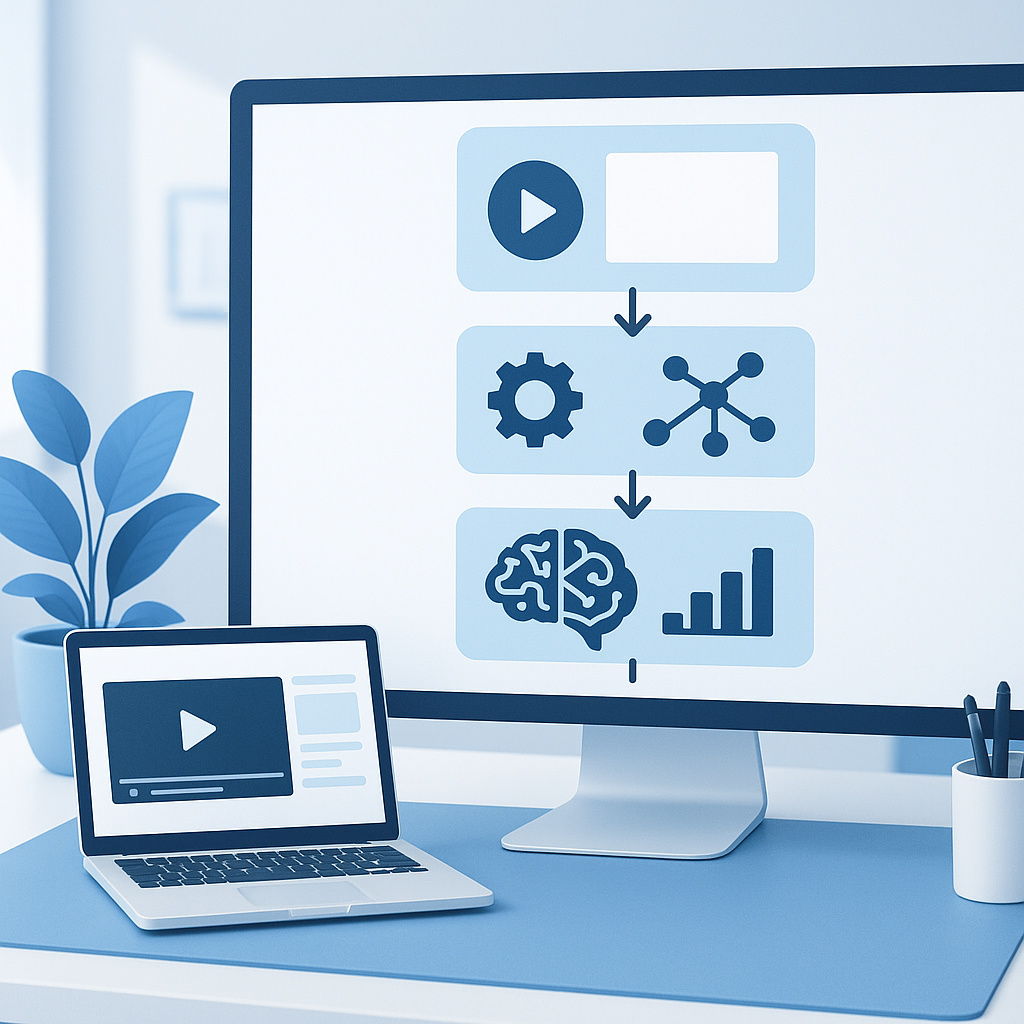
Turning textbooks into engaging video lessons is easier than you think with AI. Start by extracting key learning objectives, chunking content into bite-sized modules, and scripting narratives that pair with visuals. Use AI tools to draft scripts, generate narration, create supportive visuals, and add captions. Finally, test with real learners, gather feedback, and iterate to optimize engagement and retention.
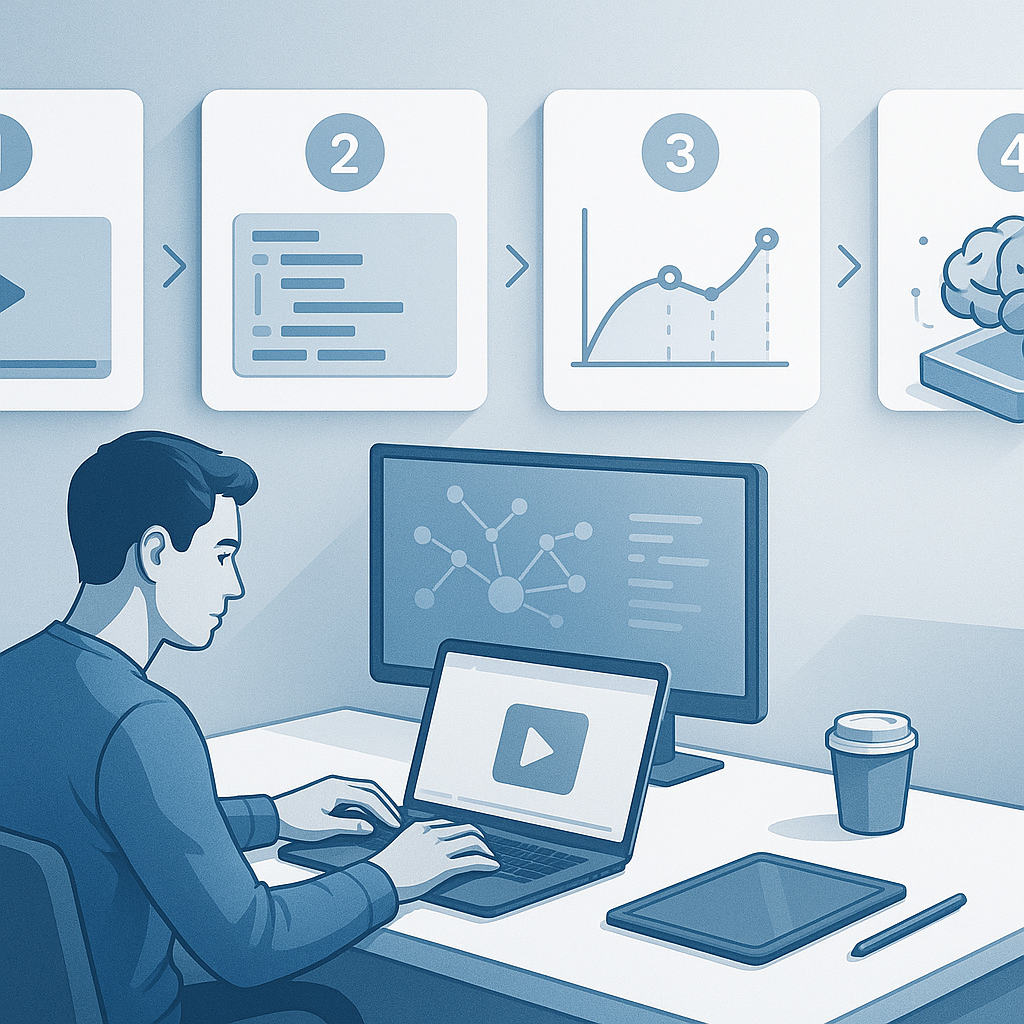
Textbooks are reliable, but they’re not always engaging or accessible in today’s fast-paced learning environment. Students crave dynamic, multimedia experiences that fit into busy schedules. Enter AI-powered tools that help you transform dense prose into vivid, bite-sized video lessons — a process I’ve tackled in numerous courses and training programs. The result? Learning materials that feel fresh, accessible, and scalable.
From my experience, the trick isn’t just converting pages to video; it’s designing a learning journey. You want to preserve the core exam-ready concepts while leveraging visuals, narration, and interactivity to boost comprehension and retention. In this guide, I’ll walk you through a practical, end-to-end approach to convert textbook content into compelling video lessons using AI. We’ll cover the planning, script and visuals, production workflow, and how to measure impact. Pro tip: start with a pilot chapter or unit and stagger rollout to learn what resonates with your audience. Quick note: always align videos to learning outcomes, not just the textbook’s pages.
Converting a textbook chapter into a video begins with clarity on what students should be able to do after watching. This step anchors the entire production.
Identify the core learning objectives (LOs). For example, a biology chapter on cell structure might have LOs like:
Break content into modular episodes. Each module should cover one or two related concepts and run roughly 6–9 minutes, with microlearning variants at 3–5 minutes for reinforcement. If you’re teaching a dense topic, a 4-6 minute module with a strong hook can work wonders.
Draft a one-sentence hook per module. This acts as your video’s north star and helps you stay focused during scripting.
Plan visuals that reinforce, not just decorate. Think diagrams, animations, quick demonstrations, and on-screen text for definitions.
Pro tip: map each module to a short formative assessment (a quick quiz or a prompt) to close the loop and reinforce learning. Quick note: keep a consistent visual style and pacing so students aren’t distracted by shifting formats.
From my experience, a well-structured module map cuts production time by 30–50% because you’re not guessing what to cover in each video. If you’re unsure about a topic’s scope, start with a “why it matters” hook and a single takeaway. If the takeaway isn’t clear within 60 seconds, you’ve probably packed too much.
Data point: Research on short-form video for learning suggests that 6–9 minute videos hit a sweet spot for comprehension, with 3–5 minute micro-modules delivering high retention for quick refreshers.
Quick note: always annotate sources and ensure factual accuracy even when AI drafts the script.
Pro tip: create a reusable script skeleton. A simple structure like Hook, Why it matters, Key concepts (with on-screen prompts), Quick example, and Takeaway helps maintain consistency across modules.
AI tools shine in automating repetitive, time-consuming tasks while enabling you to experiment with tone, pacing, and visuals. The goal is to produce clean, learner-centric content without sacrificing accuracy.
Script generation and editing. Start with a human-verified outline. Use AI to draft a first-pass script, then edit for tone, accuracy, and alignment with LO. You can generate multiple script variants (formal, conversational, analogy-based) and pick the one that fits your audience.
Text-to-speech (TTS) narration. High-quality TTS can dramatically speed up production. Choose voices that match your course brand and readability needs. For younger audiences, consider warmer, more conversational voices; for college-level courses, a clear, neutral tone often works best. Don’t forget to include pauses for emphasis and to cue visuals.
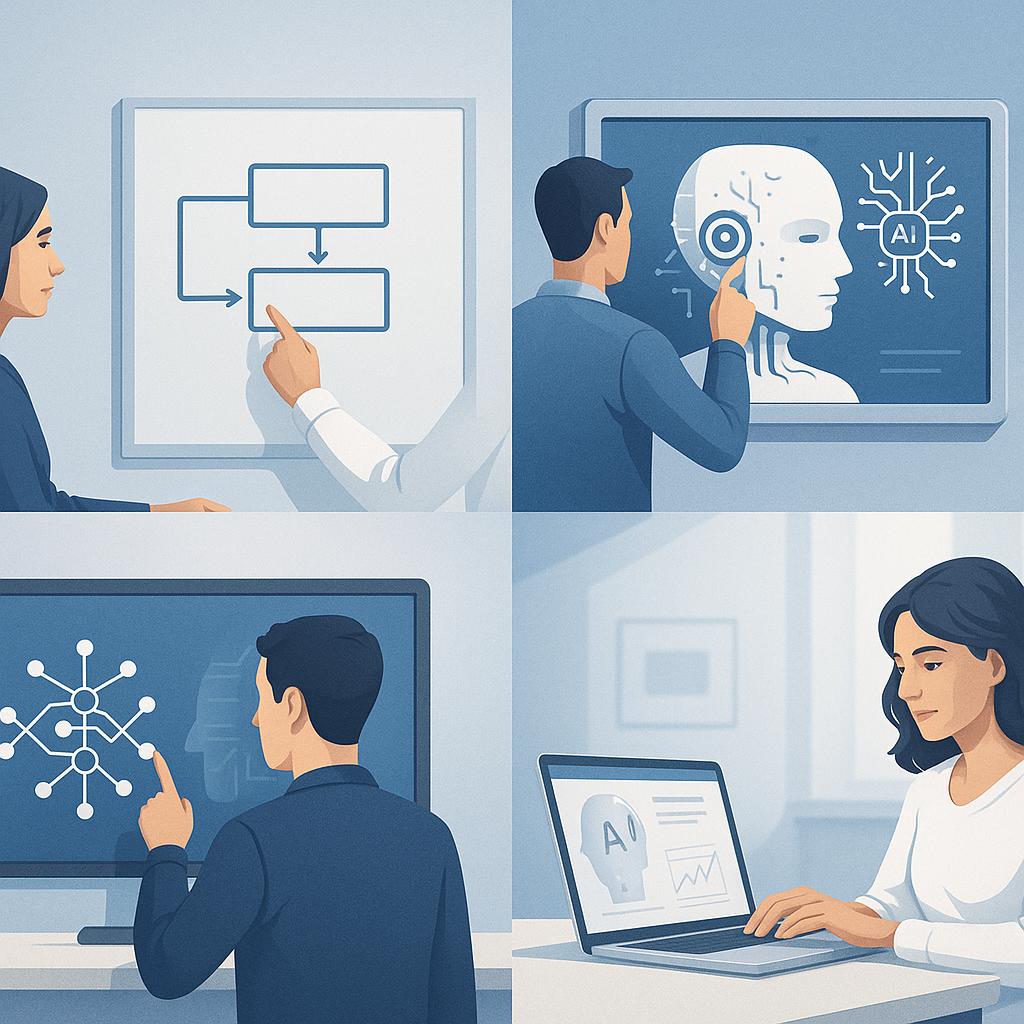
Visuals and scene-building. You can create visuals in several ways:
Interactive elements. AI can help you scaffold quizzes, hot-spots, and prompts that appear during the video or in the LMS. This supports retrieval practice and keeps learners engaged.
Pro tip: seed your prompts with concrete constraints. For example, “Explain diffusion in 60 seconds using a single analogy and show a 2-3 frame diagram” yields focused results. Quick note: always fact-check scientifically accurate claims after AI draft.
From my experience: using a mix of AI-generated scripts and human review balances speed with quality. I often generate three script variants and pick the most natural-sounding one, then rework for domain accuracy and student-friendly language.
Data touchpoint: AI-assisted video production can reduce authoring time from weeks to days or hours, depending on content complexity and the level of customization. In practical terms, a complete 6-8 minute video with AI-assisted scripting, narration, and visuals can often be produced in 2–4 hours once your pipeline is established.
Quick note: licensing and reuse. Some AI tools generate assets with licenses that may require attribution. Verify licenses for stock visuals, voice models, and any AI-generated imagery before publishing.
Pro tip: create a consistent “voice” library. Save one or two avatar-like personas with distinct tonalities (e.g., warm mentor vs. brisk instructor). Use them consistently to help learners recognize content sections.
A smooth production workflow reduces bottlenecks and ensures the final product is accessible and ready for learners.
Assemble a lightweight storyboard. Map the script to visuals: which slide or animation accompanies each chunk? Use a slide-by-slide plan to keep pacing on track.
Captions and transcripts. Add accurate captions and provide a downloadable transcript. This improves accessibility and searchability of the content. Captions can also reinforce learning when students read along while listening.
Accessibility and inclusive design. Use high-contrast text, large font sizes for on-screen text, and color palettes friendly to color-blind learners. Ensure keyboard navigability if you’re including interactive quizzes. WCAG 2.1 guidelines are a good baseline.
Visual pacing and aesthetics. Aim for clean visuals with 1–2 key ideas per frame. Avoid text-heavy slides; replace long bullet lists with concise phrases and supporting visuals.
Interactivity and checkpoints. Add quick questions at the end of each module, or interactive hotspots within the video that trigger short explanations. This converts passive watching into active retrieval practice.
Pro tip: test your video flow with a small group of learners before a full rollout. Quick note: web-based screen readers should be tested if you’re targeting accessibility.
From my experience: I’ve found that a modular production environment with a shared media library reduces duplication. Everyone can reuse a standard background, icon set, and caption style, which speeds up future textbook-to-video projects.
Data point: captioned videos tend to improve comprehension for multilingual audiences by reducing cognitive load, with gains reported in the range of several percentage points on post-video quizzes.
Publishing is not the finish line. The real value comes from continuous improvement based on learner feedback and measurable outcomes.
Publish to the right channels. Host a video library within your LMS, or use an external video platform with integrated quizzes and analytics. Consider offering both primary videos and shorter teaser clips to attract learners.
Learner feedback loops. Collect feedback through quick surveys, hotlink prompts, and the performance of in-video quizzes. Look for patterns in where learners struggle or drop off.
Metrics to track. Track engagement metrics (view duration, completion rate), learning outcomes (quiz scores, concept retention), and application (project submissions, problem-solving tasks). A healthy learning program often looks for sustained improvement across these metrics.
Iteration plan. Use A/B testing for intros, hooks, or call-to-action segments to see what improves engagement and retention. Update scripts and visuals as you learn more about your audience.
Pro tip: seed your learning materials with a few “pilot” cohorts to test content before broad rollout. Quick note: document your changes and rationale so future authors can learn from your decisions.
From my experience: a consistent update cycle (quarterly or per semester) helps keep content fresh and aligned with evolving curricula and standards. It also ensures you’re leveraging the latest AI improvements.
Data point: in practice, schools and teams that run small pilot programs and then scale tend to see faster improvements in engagement and knowledge retention than those who launch full-scale without testing.
Transforming textbooks into engaging video lessons with AI is less about reinventing education and more about reimagining how knowledge is delivered. By starting with clear learning objectives, breaking content into bite-sized modules, leveraging AI to draft scripts and visuals, and building a solid production workflow focused on accessibility and feedback, you can create scalable, high-quality learning materials that resonate with today’s students.
Key takeaways:
Pro tip: Treat textbook-to-video projects as ongoing product development. Each cycle yields insights that improve not just one video, but your entire library of learning materials. Quick note: maintain a living style guide for scripts, visuals, and narration so future modules come out faster and with higher quality.
From my experience, educators who embrace AI-enabled teaching tools can deliver richer educational content at scale while preserving the depth and rigor of traditional textbooks. If you approach it with a clear plan, a collaborative review process, and a learner-centered mindset, you’ll be surprised by how quickly textbooks can become truly engaging video lessons that help learners grasp complex concepts and apply them in meaningful ways.
Get the latest insights on AI-powered document conversion, productivity tips, and industry updates.
No spam. Unsubscribe at any time.
Transform complex documents into engaging explainer videos with AI. Step-by-step guide for creating professional educational and marketing videos.
From my experience, the hardest part isn’t the technology—it’s translating a paper’s argument into a story with a beginning, middle, and end.
Video tutorials offer a different learning path: they combine visuals, narration, and on-screen cues to guide users through each step.